How to Shoot Great Portrait Photos
A great portrait is more difficult to create than you might first think and involves more than being technically experienced or having expensive equipment – It takes a few key factors to bring together a captivating image, and if one or more of these isn’t quite right, the end result can be pretty uninspiring.
The first step is to think about your subject and the audience. Have you been commissioned to take head shots for a company profile, photograph a musician, or are you looking to shoot some candid street photography? If you have been employed to create an image, your subject will already be chosen for you, so discuss where and how the images will be used, and what the subject would like to convey about themselves through the images. This could affect where you chose to do the shoot, clothing, lighting, even lens choice and camera angle. For a company portrait for example, your subject will most likely want to convey that they are approachable, trustworthy and professional. You could think about using clean, simple, flattering lighting with either a plain backdrop for head shots or an appropriate location for a life-style based set of images. If you have the luxury of choosing your own subject, find someone interesting who has a unique character or look. They may have expressive eyes, an interesting sense of style or something indescribable which catches your attention. The most arresting portraits manage to convey some kind of story, so choose someone whose face or manner speaks to you in some way.
Interaction is incredibly important! Many people feel self-conscious in front of the camera, which could translate into awkward or uncomfortable looking images. This can be an interesting concept in itself if that’s what you’re going for, (there have been some truly amazing portraits created when the subject is feeling vulnerable or slightly at odds with the situation) but for the most part making your subject feel at ease will help create a more open and honest portrait. Find things in common to talk about, or if you are in the studio, play some music they like. This will instantly make your subject more relaxed.
Confidence is also important. If you are slightly nervous yourself and not feeling completely relaxed, this will transfer to the person you are photographing. Great lighting is really important in creating both studio and location images. This doesn’t always mean a complicated set up, or even necessarily any additional light sources at all. The ambient light on your location may be perfect, and a bright, cloudy day is ideal for taking beautiful portraits. Just take some time to think about the effect you want to create.
If you want a dark and moody image, perhaps consider some directional light which casts harsh shadows, or for a softer, more flattering look, choose a large, soft light source. Think about what will flatter the person you are shooting the most – skin tone, face shape, and age can be deciding factors when choosing your lighting. Pop up reflectors are a fantastic, cost effective way to bounce some brightness back into an area where there is not much light, and are extremely portable and lightweight.
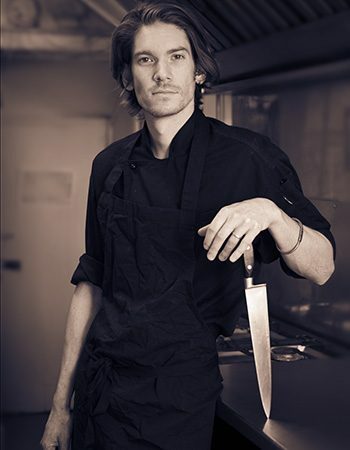
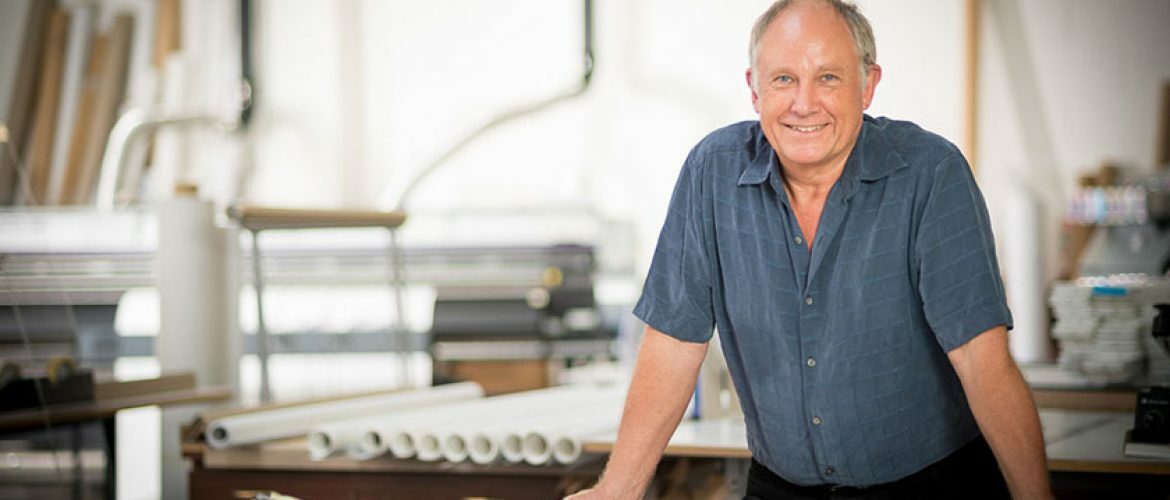
Your choice of lens and camera settings will also make a huge difference to how your final image works. A long lens with a wide aperture will create a shallow depth of field, which is perfect for isolating your subject from the background, making you focus on them completely. For a portrait of an artist in their studio however, the background would most likely add to your experience of the photograph. Notice the difference in our main image where the subject really jumps off the page, and with the next image of a woman leaving her office. In the first, the focus is solely on the individual because its use was intended to be about the person rather than the building. In the second, the woman was meant to be more incidental because their use was as much about showing the interior of the building as it was about the subject. These are subtle differences that your viewers probably won’t think about, but that make a big difference to the overall effect.
You may want to consider keeping the background in focus and making the subject smaller in the frame to include the surroundings as part of the image. Also consider the angle you take the portrait at. Shooting from above the subject could add a vulnerability to the image, and taking the shot from below could make your subject appear more confident and powerful. Be prepared to direct and guide your subject.
Play around with the tone of the image – sometimes simply trying black and white or a sepia tone can really change the feeling of a portrait. Often, careful use of black and white or monotone images can help to make full colour images jump out at you more.
Don’t be afraid to try something new if something isn’t working. If you are particularly happy with the results whilst shooting, be emphatic about this. The more confident your subjects are that the shoot is going well, the more they will relax. Some people will loosen up if you show them a few of your favourite images as you shoot, but for some people this can be distracting – just use your judgment with this! It can also be nice to show a few of the best images from the session at the end.
It’s always interesting to see how your perception of your subject differs from how they see themselves, and it may help you decide what images to chose for your final edit.
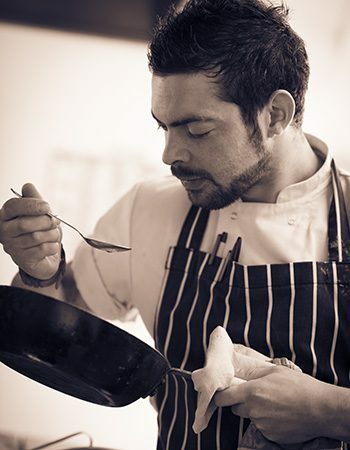
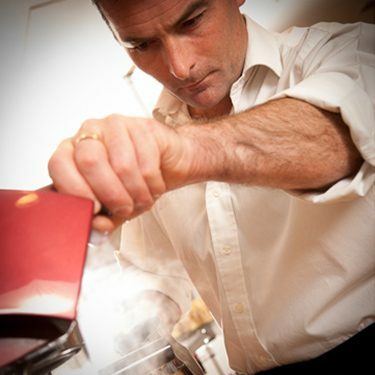
When subjects are particularly self conscious, try to make the shoot focus what they’re doing, rather than what they look like. Many of us freeze as soon as we have a camera in front of us, but catch us unaware and suddenly we’re photogenic! Getting someone absorbed in their work is often a great way to capture their personality without them even knowing about it. Mix up the shots with close ups, different angles and crops to create a wonderful overview of their industry or products without needing loads of ‘perfect smile’ shots.
Written by Beth Steddon


