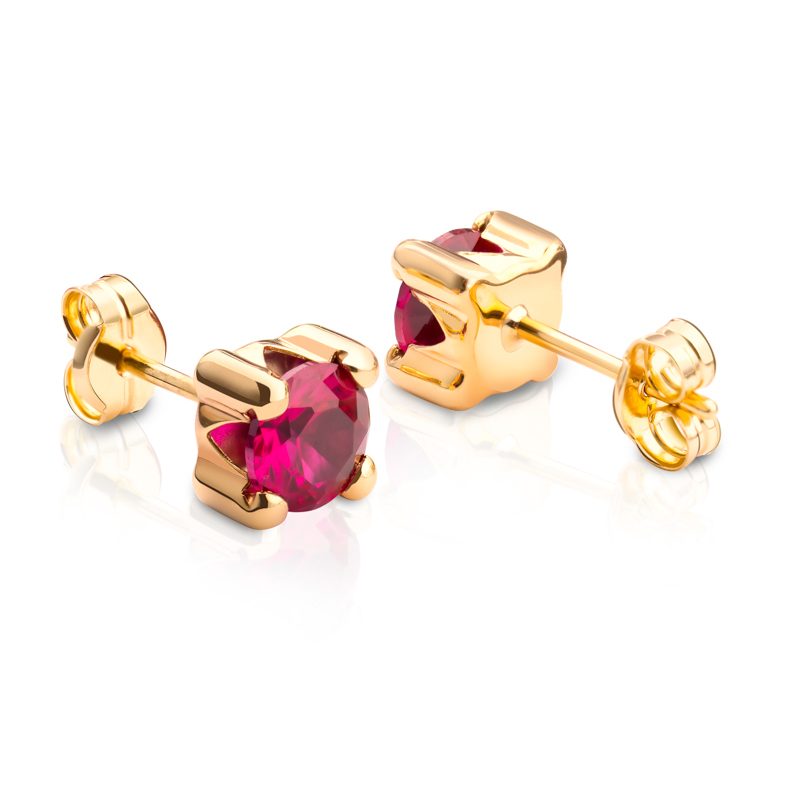
This is an area we’ve touched on before, but it’s continuously relevant since the conventions of the ever-more-popular e-commerce realm practically demand that if you can sell it, first you have to pose it, shoot it and cut it out. Whilst social media platforms such as Instagram are awash with flat lay and styled product photography and we certainly love raiding our backdrop stores and props cupboards, there’s a lot to be said for the simplicity and effectiveness of product photography on a white background. There’s absolutely no denying who the star of the show is with cut-out images. They’re clean, concise and sharply focussed and allow for both time-efficient shooting (art direction becomes pretty negligible) and effective batch editing. What’s more, shooting on white gives you relatively straightforward options for background swapping and further editing down the road, as the below images show.
Whilst it’s easy to independently light a background to PURE white when it’s some distance from your main subject. eg. Over-exposing the backdrop in mannequin photography, it’s more difficult to achieve without over-exposing your subject when backdrop and product are in much closer proximity. A lot of product photography requires sitting the subject on the backdrop (see our recent blog on creating an easy infinity curve), not some distance in front of it, so here we’ll show you how you can still blow the backdrop out to WHITE and retain correctly exposed detail where you want it. Whether you’re doing it to add a little punch and contrast to your photos, for cutting out purposes or to meet submission requirements of a catalogue or online retailer such as Amazon, it’s an easy, useful trick.
As ever, getting as close as you can in-camera means your editing workflow will be smoother and the results of a higher quality, so check your exposure is correct and white balance is colour checked when shooting. Once shot, open you image file in photoshop and you may think you’ve pretty much nailed the pure white backdrop, but change the area outside the image to white (as it will be on Amazon for example) and you may be in for a surprise…
The first thing to do is create a CURVES ADJUSTMENT LAYER through the menus displayed below (or by selecting it from the Adjustment Layers Window). This adjustment layer is non-destructive, meaning any changes you make to the image can easily and selectively be undone at any stage. By dragging the “white point” slider below-right of the histogram to the left, you’ll see the off-white backdrop lightening towards pure white, with the effect increasing the further left you drag. Depending on your subject’s tonality, you may see some effect on the subject itself. In this case, the necessary adjustments to the backdrop do not affect the dark subject too much, but shooting a light product such as a cricket ball, you’d likely notice more changes.
If you hold down the ALT key (named option on some mac keyboards) as you drag the slider, you will see a polarised negative clearly showing where clipping is occurring on the image. Black means actual pixel data is turning to pure white. This may help you judge how far to go with your adjustment. The beauty of the adjustment layer is once you’ve got the backdrop how you want it, you can selectively paint out any unwanted effects on the product itself. In this case, the adjustment has obliterated our subject’s shadow, but if we want to bring it back, we simply use a soft brush and paint it back in using the layer mask. To understand Adjustment Layers more clearly, read our previous blog post here.
So there you have it, a quick and easy way to get your whites “Amazon” white in no time.
Thanks for reading.

