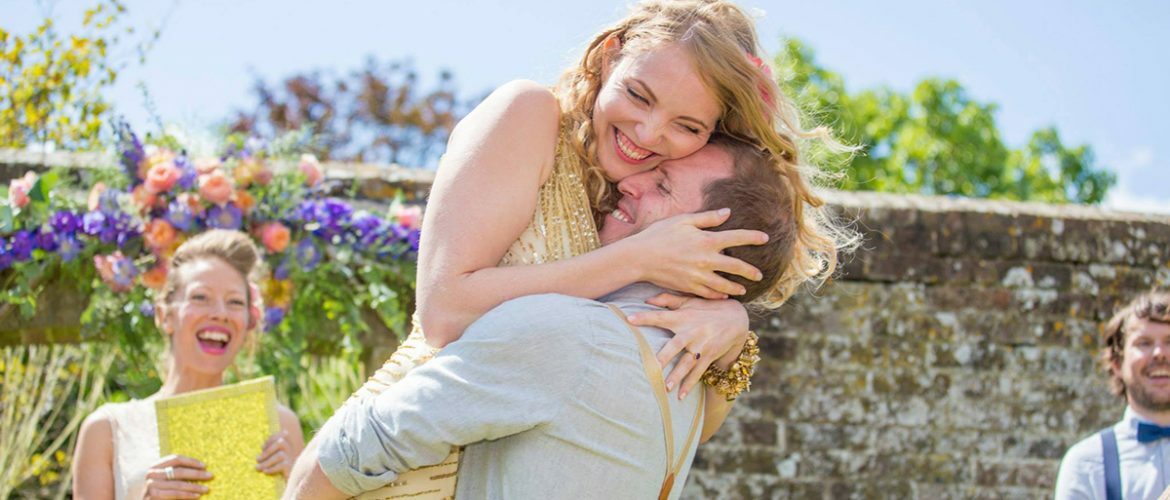
Mind-metering. Become an Exposure Jedi with the Sunny 16 Rule.
Nowadays we tend to carry a light meter on every assignment. It provides an accurate measure of a scene’s exposure and even impresses the odd client who’s never seen one! (“What dark sorcery is this?”) Digital cameras now have their own in-built light meters (although not generally as accurate or nuanced as a dedicated hand-held version) and besides, with instant viewablitly (is that a word?) of an image on the LCD screen, we can always make crude exposure adjustments before re-shooting. However, wouldn’t it be great to not rely solely on potentially fallible technology and instead have a rough idea instantaneously? It would feel good to just look at a scene and divine the manual setting needed to get a decent shot, wouldn’t it. After all, most professional photographers were able to do that just a few decades ago and those losers weren’t even on Twitter!!??? #saddos
Introducing the “Sunny 16” rule. This guide method will give you a start point from which to calculate your exposure and another reason to be smug when your histogram confirms you were right. The basic principle is that on a clear sunny day, with an aperture of f/16, you’ll get a workable exposure when inverting your shutter speed and corresponding ISO.
ie. f/16, ISO 100, 1/100s
or f/16, ISO 500, 1/500s
or f/16, ISO 2000, 1/2000s.
Before you say it, we’re well ahead of you; This is England and never has there been, nor ever will there be, “a clear, sunny day”. That’s ok, The Sunny 16 rule simply gives you a start point from which you can recalibrate your exposure based on how far north of Watford you are. Maintaining the same inverse relationship between ISO and shutter, simply open up your aperture to compensate for less ambient light:
- Slightly overcast F/11.
- Overcast F/8.
- Heavily overcast F/5.6.
Similarly, if you want more creative control of your shots (you probably don’t want to shoot a portrait at f/16 just because some jumped up “rule” tells you to) you can use old Sunny as a start point and then apply the exposure scale to recalculate your manual settings. For a fixed ISO, we know f/16 at 1/100s gives the same exposure as f/11 at 1/200s or f/8 at 1/400s and so on. By the same measure, you can work out different exposure pairs for overcast situations, using those guide apertures as your start point. It might not come naturally at first, but a little mental arithmetic should get you there while the next guy’s still looking for batteries for his light meter. Last week’s blog post on Exposure Pairs may prove useful.
So there you have it, grab your camera, step into the English countryside and join the Sunny 16 club….. then immediately face the reality it’s more of a cloudy 5.6 society
