Tips for Successful Jewellery Photography Styling
Jewellery photography is one of the most notoriously difficult types of product photography to do well. Here we provide some insider tips to help get your jewellery shots looking slick and stylish like the professionals.
Identify Your Customer
Jewellery is nearly always an emotional purchase. Clearly, then, in order to be persuade the viewer, your images must provoke the right emotion. While of course many women buy their own jewellery, it’s important to remember that jewellery is often given as a gift by men. Consequently there would be little point in styling your jewellery in a stereotypically feminine and romantic manner if most of your potential customers are actually male.
Your first task, then, is to accurately identify your audience and imagine yourself in their place. What are they looking for in a jewellery purchase? What style of presentation is most likely to prompt this sentimental response?
Even if you determine that the majority of your customers are indeed women buying jewellery for themselves, don’t automatically style every item in a hyper-feminine manner. Not all jewellery is about graceful decoration. Indeed the range of feelings a customer might hope to experience by wearing a particular piece of jewellery can vary from confident, strong, sophisticated and assertive to mysterious and seductive – and many others in between.
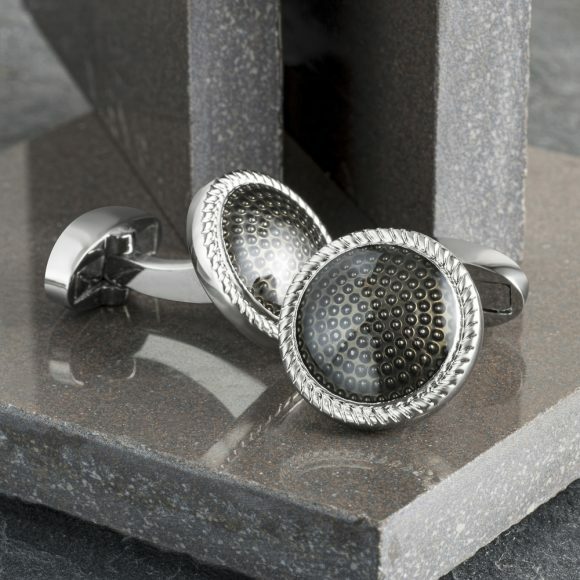
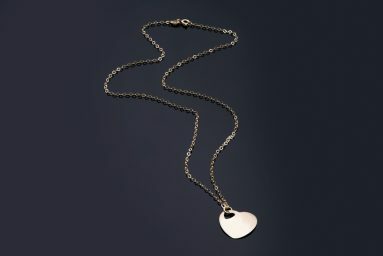
With this in mind, try to find the most appropriate treatment for each item you will photograph. While delicate tones and a romantic soft-focus approach might be exactly right for some pieces, others will perhaps look their best photographed against a dark background, creating an image of sophisticated luxury.
Backgrounds and Props
The creative use of backgrounds and props can really bring a jewellery shoot to life, helping to showcase the unique identity of each piece.
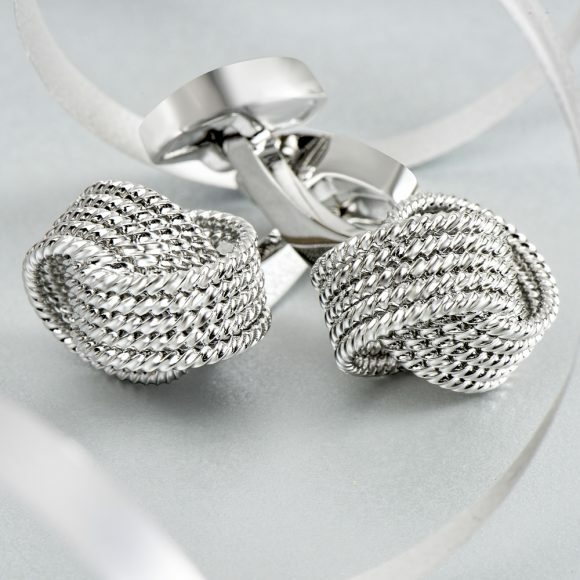
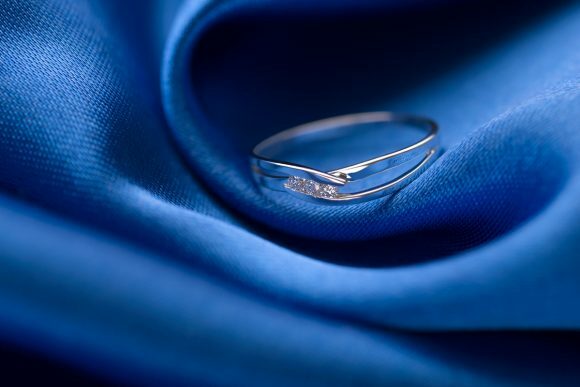
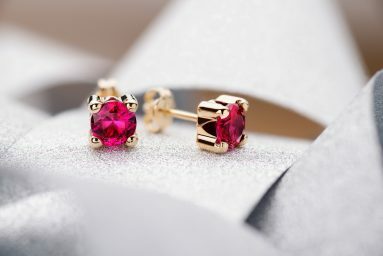
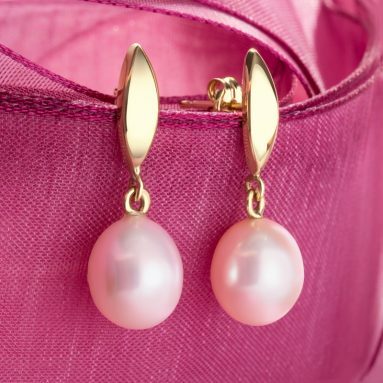
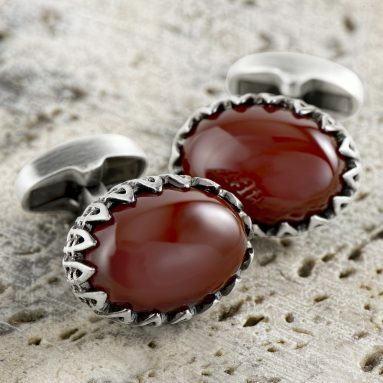
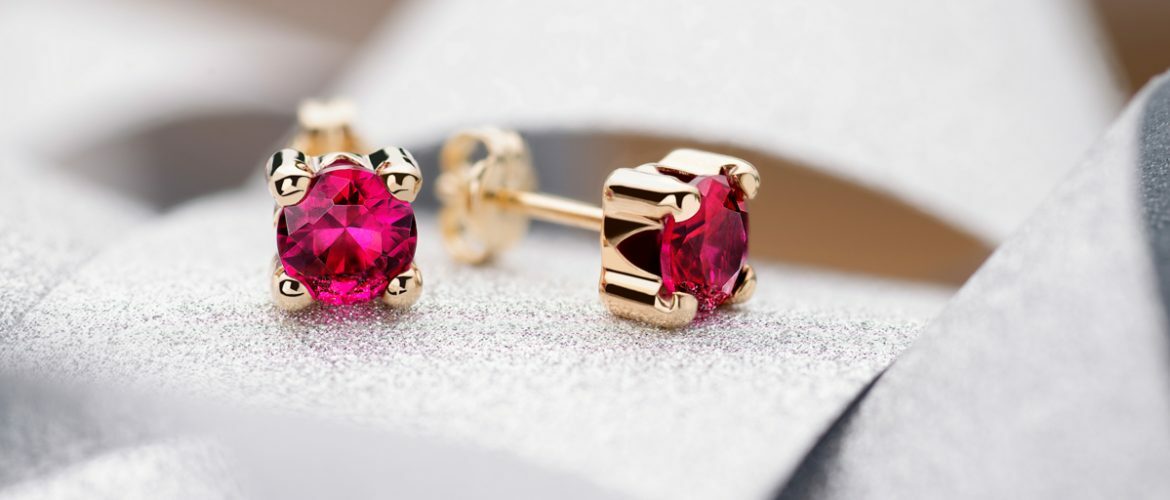
Try experimenting with different coloured backdrops and textured surfaces. Think about how they interact with the jewellery. For example, if the charm of a particular item largely lies in the polished elegance of it’s contours, you might reinforce this impression by photographing the piece on a coarsely textured background. Further interest can be created by displaying the items alongside props such as ribbons, fabrics and tiles, as seen in some the examples that accompany this article.
Related: Shooting Shiny
With that said, it’s important not to lose sight of the primary purpose of a jewellery photograph: showing off the product at it’s absolute best. If your backgrounds are too fussy, or your props too big, they will risk dominating the shot. In general, then, you should try to keep your backgrounds and props fairly simple, never allowing them to distract from the real star of the show: the jewellery itself.
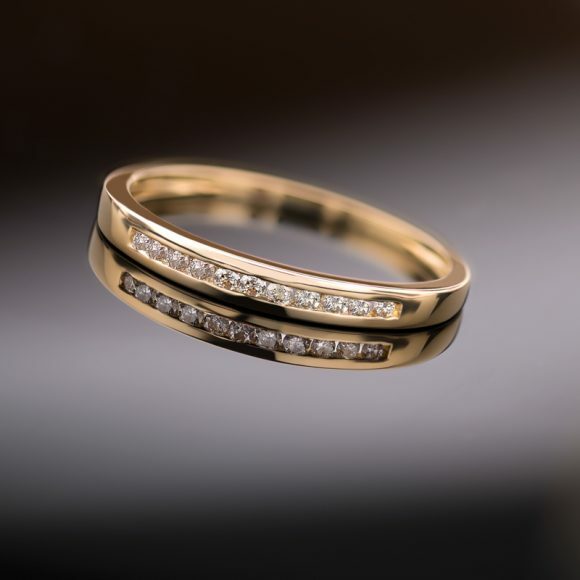
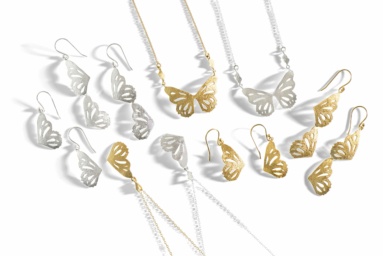
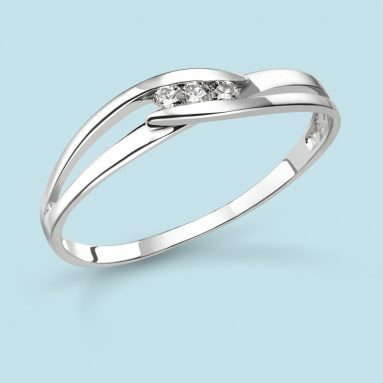
Fortunately, even when shooting against a plain white background without props, there are many things you can do to elevate the image beyond a standard product shot. Try playing around with different qualities of light – soft and diffused, or hard and contrasty – or varying the angle of the light to create dramatic shadows. Get creative and photograph the piece from an unusual point of view. Show off different details from varying perspectives to give a more complete overview of the item while simultaneously grabbing the viewer’s attention.
Focus and Depth-of-Field
Another way to add interest and intrigue to a jewellery shoot is to get creative with your use of depth-of-field.
For example, shallow depth-of-field is particularly good for more emotional shots, adding a romantic, almost dreamlike quality to images. There is a time and place for this effect, though, so don’t over do it. With an advertising campaign it’s often enough just to create a mysterious and alluring image that resonates with the viewer, without necessarily showcasing actual products. But with a product shot, people need to be able to clearly see and understand every detail of the item you wish to sell. Once again, never lose sight of the purpose of your jewellery photos.
Related: Focus Stacking When Shooting Jewellery
On the opposite end of the spectrum, sometimes a certain jewellery design will call for a much sharper and more graphic image. If you want to show your items fully in focus from front to back, try shooting flat-on from directly overhead. Alternatively, by increasing the power of your light source, you will be able to shoot at a smaller lens aperture, therefore achieving a much greater depth-of-field.
If this still isn’t giving you the desired degree of sharpness, try focus stacking (see our post on focus stacking for more details on this technique). In fact, when the angle of a shot puts the item into a deep perspective (as is the case, for example, with a necklace or chain when viewed side-on), the only way you will be able to show the design in any detail from front to back is by combining several images in the post-processing stage.
Be aware, however, that you have to be extremely experienced to stack-focus jewellery on lifestyle backgrounds without encountering “focus breathing” issues. We’ll look at this more closely in another post.
Jewellery Retouching
Jewellery is as difficult to retouch as it is to shoot. In fact jewellery retouching is a profession in itself.
The primary risk is that heavy-handed retouching will spoil the raw beauty of the metals, making them look fake, unnatural, or even just plain cheap. Good jewellery photography makes an item look its best, not like a totally different item altogether.
What’s more, making an item look too ‘perfect’ could be considered inaccurate advertising, resulting in an increased percentage of returns from disappointed customers, damage to your online reputation in the form of bad reviews, and perhaps worse.
Related: Retouching Jewellery Photography
Clearly then, unless you have considerable experience in this area, it is best to post-process your jewellery photographs as little possible. In any case, if you’ve done a good job of shooting them in the first place, relatively little retouching will be necessary.
Final Thoughts
Jewellery can be a challenging subject to shoot, even for professional photographers, and there are many issues to be aware of if you are to make a good job of it. Hopefully after reading this guide you now have a much better idea of the amount of work involved and how to avoid the worst pitfalls.
As a parting thought, it’s also worth remembering that metals already have their own particular charm and fascination, without need for too much embellishment. Sometimes the best tactic is merely to allow the jewellery to speak for itself, subtly offsetting the natural shine and richness of metals and stones with simple, soft tones and elegant, even lighting.
As ever, if you have any questions directly related to this topic, please let us know in the comments section and we’ll do our best to help.

